
Secure Portal
Simple. Secure.
Transparent.
At Premier Properties & Development, we keep rent payments simple and organized. Securely handle your history and records through TenantCloud.
Pay rent online in seconds
Track payment history
Set up automatic payments
Access from any device
How to Pay Rent
Step-by-Step Guide
Below is a simple guide for making your rent payment through TenantCloud.
STEP 1
Log Into Your Tenant Portal
Open the TenantCloud portal and log into your tenant account using the email and password you created when you applied or signed your lease.
STEP 2
Open the Payments Section
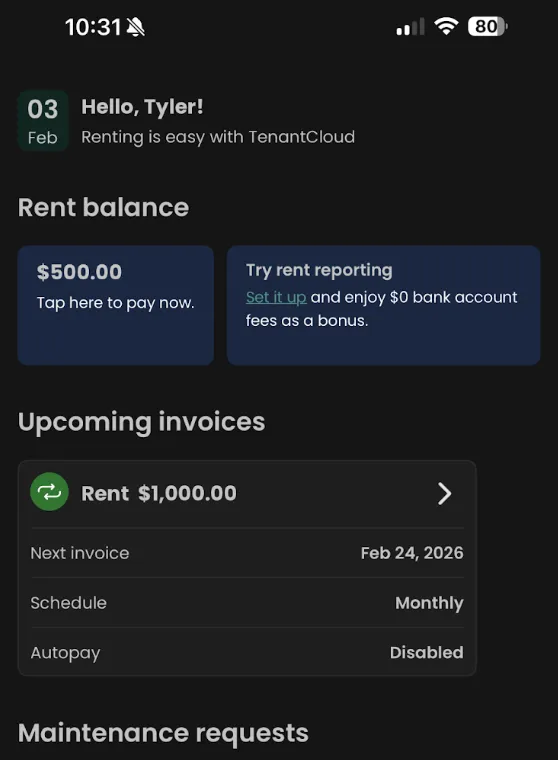
Once logged in, navigate to the Payments tab from your tenant dashboard.
Current balance
Upcoming rent
Payment history
Payment options
STEP 3
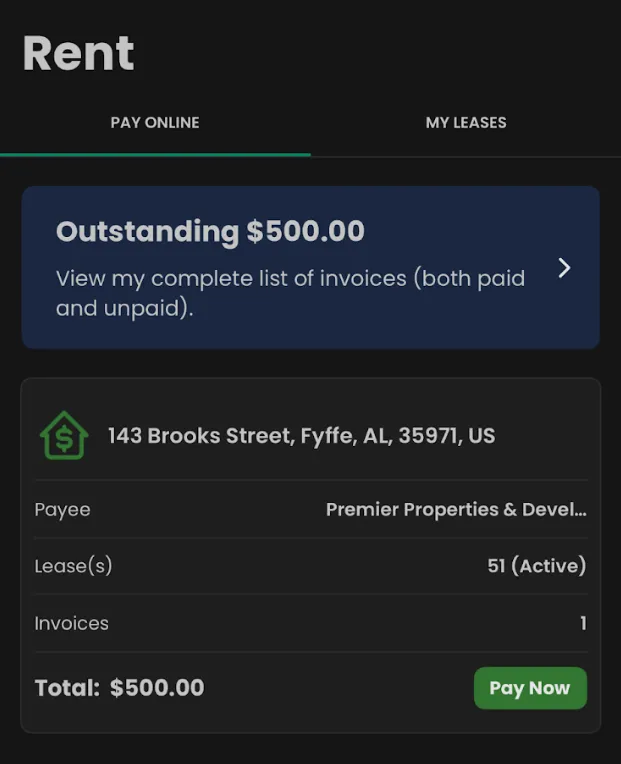
Select "Make Payment"
Click Make Payment to begin submitting your rent. You will be able to choose your preferred payment method.
Bank Transfer (ACH)
Debit Card
Credit Card
STEP 4
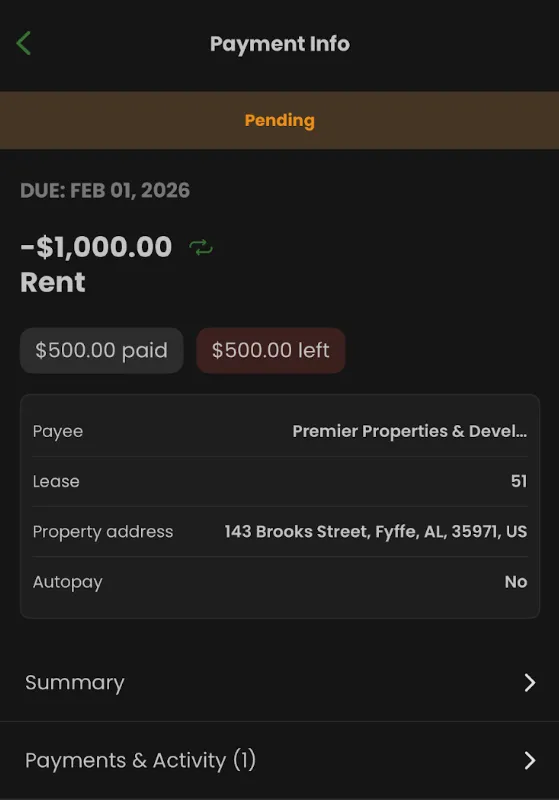
Enter Payment Details
Enter the amount you wish to pay and confirm the payment method. TenantCloud will display the total amount including any applicable processing fees before submission.
STEP 5
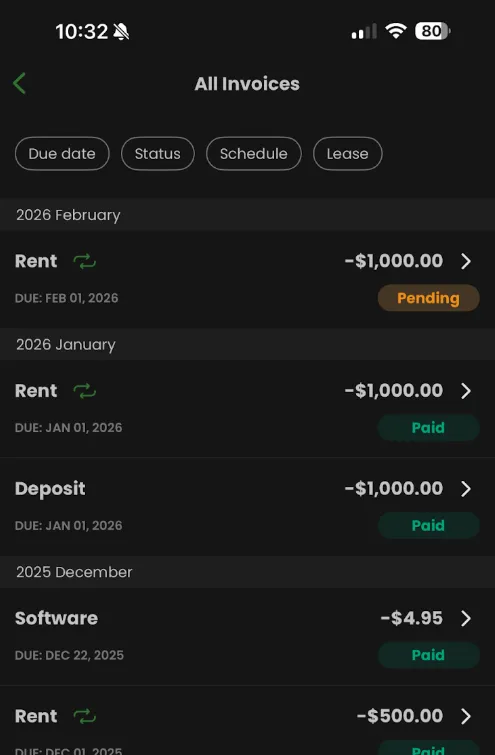
Confirm Your Payment
Review the payment details and click Submit Payment. Once submitted, your payment will immediately appear in your Payment History for your records.

Recommended
AutoPay is disabled
Auto pay is not enabled until a couple payments are underway for legal resident registration.
No late payments
Manual monthly processing
Complete payment records
Peace of mind

Optional Feature
Credit-Building
TenantCloud offers an optional credit-building service that allows your on-time rent payments to be reported to major credit bureaus for just $5 per payment.
99% of our tenants participate in this feature. Premier Properties does not profit from this service — it passes reporting directly to the credit bureaus.
We strongly recommend enabling credit reporting at the beginning of your lease. Past rent payments cannot be reported after move-out.
Tenant Portal
Manage Your Rent Payments
Access your secure tenant portal to submit payments, enable AutoPay, and manage your account.
Pay rent
Enable AutoPay
View payment history
Manage account settings